
Authentication & Authorization
API Keys
This page describes how to generate an API key in Bubble PPM, define its authorization to the API, and how to formulate HTTP requests using the key.
Bubble PPM’s Web API v3 supports the use of API Keys. API Keys allow you to use another method of authentication separate from your account username and password. API Keys add an additional layer of security for your account and can be assigned specific permissions to limit which areas of your account they may be used to access. API Keys can be generated in your account. To use keys, you must set a plain text header named “Authorization” with the contents of the header being “Api-Key XXX” where XXX is your API Secret Key.
Authorization HTTP Header
To authenticate, add an Authorization header to your API request that contains an API Key.
Example Header
GET https://<tenant>.bubbleppm.com/api/v3/resources/ HTTP/1.1
Authorization: Api-Key Your.API.Key-HEREcurl -X "GET" "https://<tenant>.bubbleppm.com/api/v3/resources/" -H "Authorization: Api-Key Your.API.Key-HERE" -H "Content-Type: application/json"Authorization
API Keys can be used to authenticate the use of PPM’s V3 Web API. API Keys may be assigned certain permissions, or scopes, that limit which API endpoints they are able to access and which projects within the system they are allowed to access.
When creating an API key you must define an Application that it relates to. This Application is defined a permission profile that shares the traits of a Person profile that would be assigned to a User.
Creating an Application
To create an application user:
Log into the administration screen in the usual way.
From the “HR” submenu select “Applications”
Click “Add Application” button in the top left-hand corner

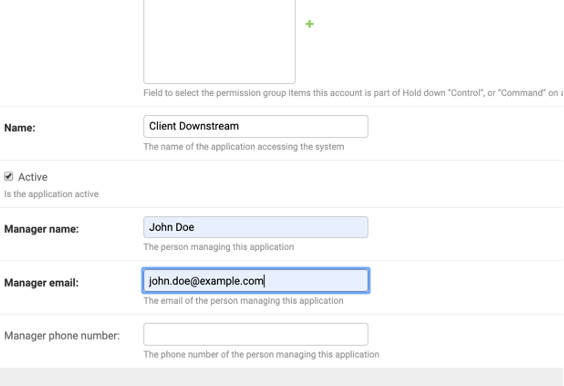
Select the permissions appropriate to the application and name it
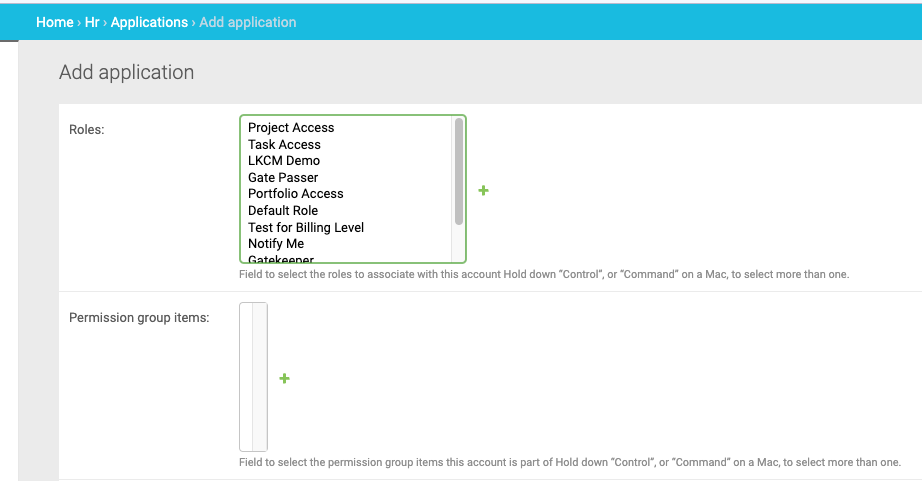
Providing contact details for a person responsible for the application. This is to aid internal diagnostics where API keys are potentially being used for purposes that weren’t envisaged when they were granted
Now that you have created an Application and provided it the required access, you can now generate API keys that use this Application.
Creating an API Key
With the application user in place, the API key can now be created:
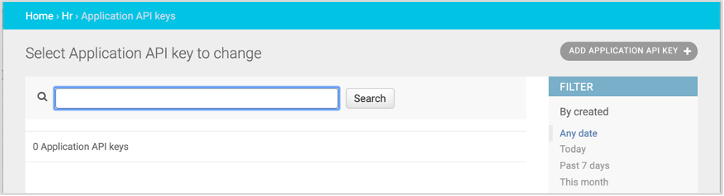
Return to the main administration menu by clicking the home link above the green confirmation ribbon. In the HR submenu, click on Application API keys. Then click on Add Application API Key
Name the API key with something that makes sense to you – it is not used by the system, and is instead a more human readable identifier for the API key in a list of API keys. Choose an expiry date / time. Expiry date / times are required but may be in the far future. Select also the application (most likely preselected as the one just created)
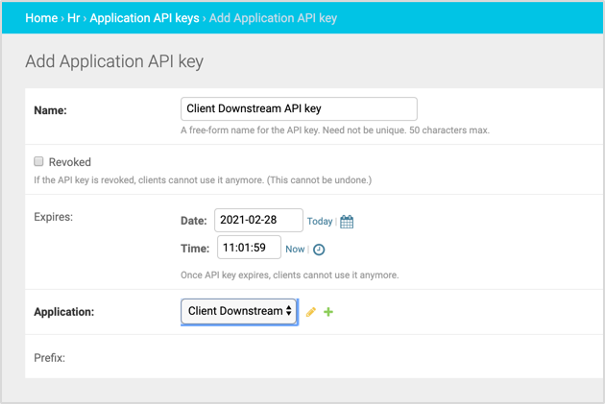
When done, click Save.
Record your API key in a safe place
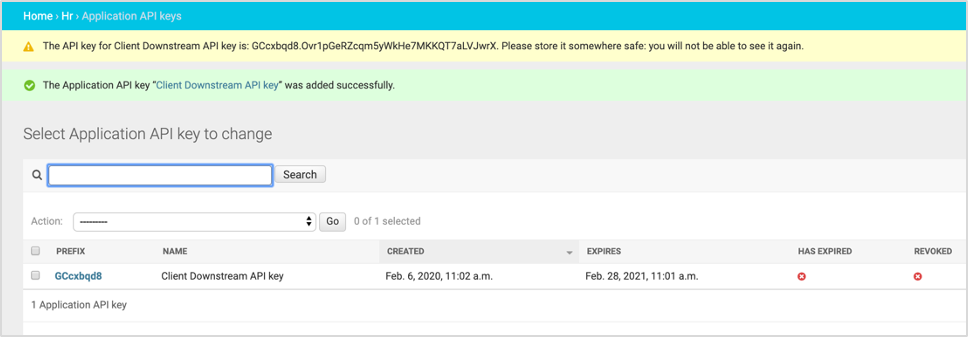
Important: what follows is the ONLY available chance to record the API key in full. If you do not record this value at this stage the API key can no longer be retrieved. The API key appears in the yellow ribbon of the next screen